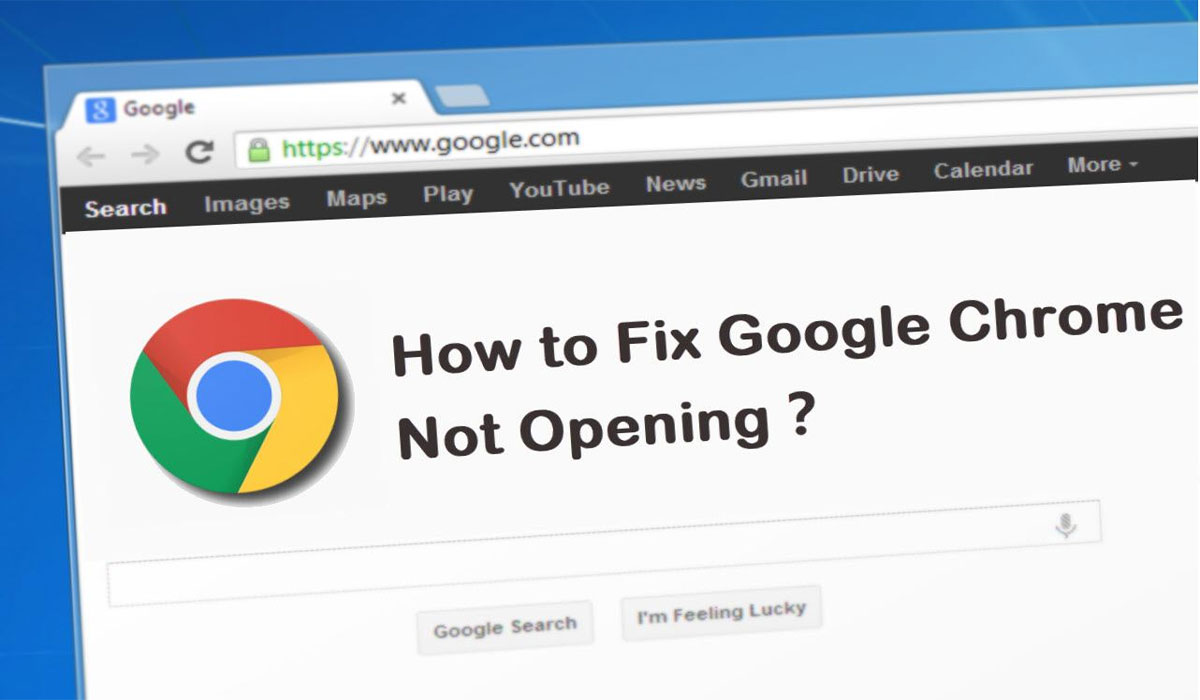
You may suddenly suffer from this type of problem: Your Google Chrome not opening in Windows 10 after double-clicking its icon. It is very disappointing. However, you cannot uninstall it immediately because Chrome will not be reinstalled on your computer. In this case, we provide some feasible methods below.
How to fix Google Chrome not opening Windows 10
If your google chrome not opening in windows 10 then you can follow the steps and fix it
Read:- How to Repair Corrupted Excel Files
Method 1: Restart your computer to fix Google Chrome on Windows 10
Step 1: Restart your computer and make sure that all your files have been saved.
Step 2: If your Google Chrome launches like this, press Ctrl + Alt + Del to open the task manager. Click on the Details tab and right-click on the Google Chrome process and select End Process Tree. Reload after exiting each instance of Chrome.
Method 2: Uninstall Unknown Program to Fix Google Chrome
Some malware can cause conflicts in Chrome. Go to the Control Panel and choose Program Programs and Features. Choose unknown programs, right-click on them, and choose Uninstall. If you don’t know who to uninstall, you can also try the Chrome Cleanup Tool to clean it automatically.
Method 3: Fix Chrome by adding an exclusion for antivirus or firewall settings
Sometimes your computer’s antivirus or firewall temporarily turns it off, so you need to add a software exclusion. Check if the firewall is off, whether or not your Google Chrome can function normally, you can continue in this section.
Step 1: To open Antivirus in Windows 10, you can go to the Settings Update and Security Windows Defender Open Windows Defender Security Center.
Step 2: In the Windows Defender Security Center window, tap the three parallel dashes in the top right corner. Choose “Virus and Threat Protection” from the left panel and click “Virus and Threat Protection Settings” from the right panel.
Step 3: Scroll down and under Add exclusions click Add or Remove Exclusions. Tap on the plus sign and choose the Files option, click on Google Chrome to finish.
Step 4: Enter “Control Panel” in the Windows search box in the taskbar and press Enter. Click the down arrow behind View By and select “Small Icons” and choose Windows Firewall.
Step 5: In the right panel, click “Allow application or feature via Windows Firewall” and check the box in front of Google Chrome.
Method 4: Change Input Permission to Repair Google Chrome
Step 1: Right-click on the Chrome shortcut from the desktop, choose “Open File Location”.
Step 2: Right-click on the Chrome app, select Send to Desktop to create a new shortcut.
Step 3: Now right-click on the new Chrome shortcut and then choose Properties. In the Google Chrome Properties dialog box, go to the Security tab and tap Advanced.
Step 4: When the “Advanced Security Settings for Google Chrome” window appears, press the Edit button.
Step 5: Type your username in the box Enter the object name to select, click the Check Name OK button.
Step 6: When you have performed the above operation, it will automatically return to the Step 4 window. Here, you need to click on the Effective Access tab and select the user.
Step 7: To do the same as step 5, press the OK button until all windows exit. So, you have saved all your changes above.

0 Comments