Windows Update is scheduled to release patches that fix bugs and improve Windows 10 performance. But it is not without its flaws. Sometimes it can go wrong and cause annoying errors on one’s PC. There are even cases where you cannot install the update successfully because a pesky error prevents you from doing so.
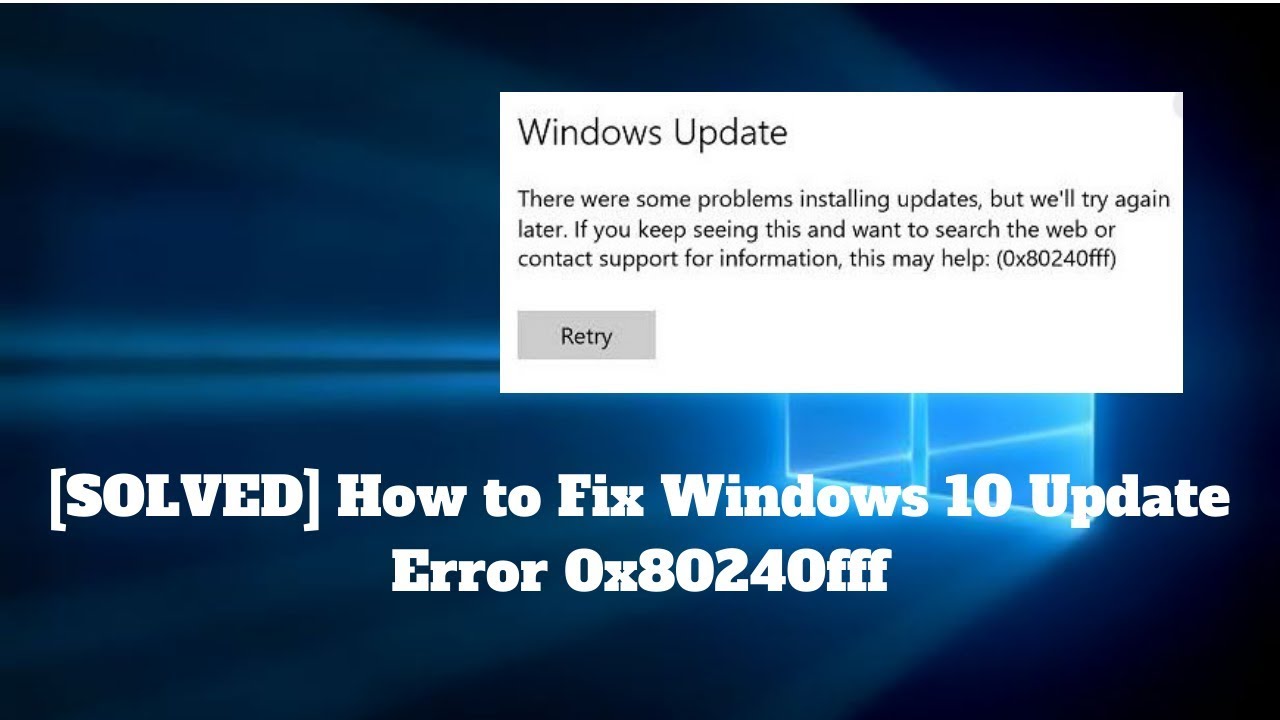
So what happens if the Windows 10 update is blocked with a 0x80240fff error? Well, now don’t worry because we have designed many solutions to try.
Read:- How to Fix Microsoft Office error code 30010–4
Option 1: Pausing Updates
The new version of Windows 10 may cause 0x80240fff error. So your best option is to suspend the update until Microsoft releases any fixes for it. Here are the steps:
- Launch the Settings application by pressing the Windows + I key on your keyboard.
- Select Update and Security, then go to the right.
- Click on the Advanced Options link.
- Go to the Pause Updates section, then click on the Select Date drop-down list.
Choose a date from the list. In most cases, you can suspend updates for about a month. Unfortunately, for Windows 10 Home operating systems, it is not possible to postpone upgrades for more than a month.
Option 2: Using Media Creation Tools
If you are still using an older version of Windows 10 Home, you cannot see the Pause Update option in the Settings app. Don’t worry, because there is always a way to find out how to fix Windows update error 0x80240fff. You can upgrade your operating system by downloading the latest version ISO. Here are the steps:
- Go to Microsoft’s official website, then download the media creation tool.
- After downloading the tool, run it. Remember that you must use an administrator account on your computer.
- Once on the License Terms page, choose Accept.
- On the next page, select the option “Upgrade this PC now”.
- Click on Next.
- The media creation tool will start downloading and installing the latest version of Windows 10.
- Remember to select the “Keep personal files and applications” option, to ensure that none of your important data is lost.
- Once you save the files and close all open applications, choose Install.
Note that the process may take several minutes. So make sure to keep your computer running.
Option 3: Use the Windows Update Troubleshooter
If you have a problem with Windows Update, you can use its dedicated troubleshooter to solve the problems. This will repair Windows Update components, allowing you to install the update without the annoyance of error 0x80240fff. To run the troubleshooter, follow the instructions below:
- Click on the Windows icon in your taskbar.
- Click the gear icon to launch the Settings app.
- With the Settings window open, choose Update and Security.
- Access the menu in the left pane, then click Troubleshooting.
- Go to the right pane, then click Windows Update.
- Click on the Run Troubleshooter button.
Let the troubleshooter resolve Windows Update issues. If the tool recommends other functions, be sure to follow them.
Solution for windows 10 pro users
If you want to learn how to fix Windows 10 update error 0x80240fff on a Windows 10 Pro PC, then you need to learn how to “upgrade”. This will solve the problem by changing the server from which you download the update. On Windows 10 Pro and Enterprise, there are different ways to do this. We will show them to all of you.
Method 1: Using the Settings app
- Click the Windows icon in your taskbar, then click the gear icon to open the Settings app.
- After joining the Settings app, click Update and Security.
- Go to the right pane and click on the Advanced Options link.
- Check the box next to “‘Defer feature updates”.
After performing these steps, you need to restart your PC to ensure that the changes will take effect.
Method 2: Using the Local Group Policy Editor
- On your keyboard, press the Windows key + R to open the run dialog box.
- In the Run dialog box, type “gpedit” (without the quotes), then press Enter.
- After the Group Policy Editor is in place, go to the left pane and follow this path:
Computer Configuration -> Administrative Templates -> Windows Components -> Windows Update
- In the right pane, you will see several group policies. You should look for one called “Defer Upgrade and Updates” and then double-click it.
- A new window will appear. Select to be able to postpone upgrades and updates.
After these steps are completed, you will see two fields at the bottom of the window. To select the number of months, follow the instructions below:
- In the left pane, click the up and down arrows to enter the number of months for which you want to postpone the upgrade.
- You are free to choose between one to eight months. You can also enter a number between 1 and 8 instead of using the up and down arrows.
Remember that the number of months you enter adds up to a four-month delay. Once you have requested to postpone the upgrade, your computer will move from the business-oriented upgrade track of “Current Branch” (CBB) to the “Current Branch” (CB) track at the consumer level. .
When you check the box next to “Suspend upgrade and update”, you will be able to temporarily suspend updates and upgrades. This will not be until the next monthly update or until Microsoft releases the next major upgrade. Now, when a new update or upgrade is available, the policy value changes to its default state.


0 Comments